
WePC is reader-supported. When you buy through links on our site, we may earn an affiliate commission. Learn more
Last Updated:
Armor stands were first introduced in the Java edition of Minecraft in version 1.8, and its primary purpose was to allow players to show off/display their armor on a wooden stand.
The mechanics of armor stands, on the other hand, rapidly became clear that they could be utilized for a variety of reasons, particularly those that fit the demands of 3rd party multiplayer Minecraft servers and map designers.
How to make an Armor Stand?
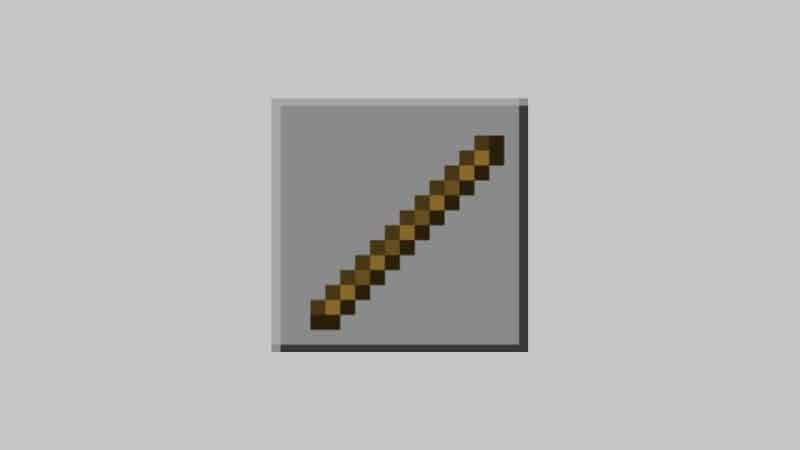
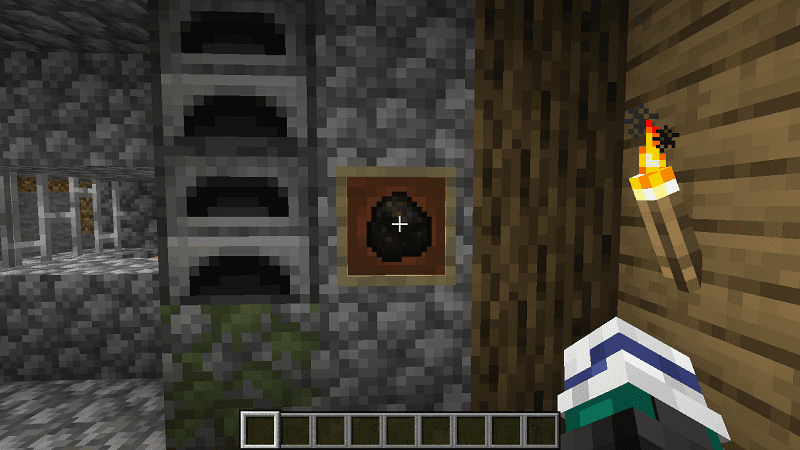
Basically, you would need 5 sticks and 1 smooth stone slab. To begin, set up your crafting table using the 3×3 crafting grid.
A crafting area consisting of a 3×3 crafting grid should be visible in the crafting menu. In the 3×3 crafting grid, arrange 1 smooth stone slab and 6 sticks to build an armor stand.
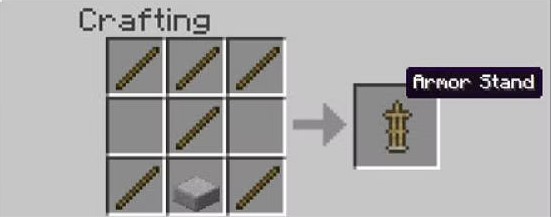
It’s critical to arrange the smooth stone slab and sticks in the precise manner shown in the figure below when creating an armor stand. Three sticks should be in the first row. There should be one stick in the center box of the second row. One stick in the first box, one smooth stone slab in the second box, and one stick in the third box should make up the third row. Once done, you have to move the armor stand to your inventory.
More Minecraft Crafting Recipe guides
- All you need to know about the Minecraft Crafting Table
- How to craft and use a Blast Furnace
- How to craft a Fermented Spider Eye
- How to make and use a Minecraft Armor Stand
- How to make a book in Minecraft
- How to craft a Shulker Box in Minecraft
- How to make and use a Fletching Table
- How to craft Minecraft Fireworks
- How to make green dye in Minecraft
- How to craft, find and use Minecraft Lanterns
And head over to our Minecraft hub for even more news, guides and how-tos!